LEAD-CORE · MONO LEADER
Grab a blade to help the lead core slide out and it’s easy to nick the sheath without seeing it. The connection looks fine right up until it isn’t, and a leader lost mid-retrieve on a lake trout troll doesn’t come with a visible reason attached. There’s barely any wrapping in the Willis Knot at all — you take part of the lead core out, slide the monofilament leader inside the braided sheath that’s left, and the sheath’s finger-trap behavior does the gripping once the connection takes a load. The knot isn’t really a knot. It’s a sheath doing a job, and it only does that job if you didn’t damage it getting there.
Break the core, then watch the sheath close
What it actually does
Joins a lead-core outer sheath to a monofilament leader.
Where it starts
A section of lead core has to come out first, without damaging the braided sheath around it. Rush this step and nothing after it matters.
Braided leader variation
When joining a braided leader instead of mono, add overhand knots rather than trusting the same plain insertion alone.
What it’s best suited for
Hollow-sheath lead-core trolling setups specifically — it’s not a general-purpose connection, and it has no opinion about anything that isn’t built this way.
Load tightens this one, not your hands
With the lead core out, the hollow braid opens up enough to accept monofilament. Pull lengthwise and the braid narrows around the mono, and it keeps narrowing for as long as something on the other end keeps pulling. What holds this together is an intact sheath and enough insertion length. Nothing you tie at the end is doing the work — which is a strange thing to trust the first few times you do it, because it doesn’t feel like a knot while you’re building it. It feels like you forgot a step. You didn’t.
Doing it without nicking the sheath
- Bend the lead-core line sharply at the intended transition point so the internal lead breaks.
- Slide the broken lead core out, leaving an intact length of hollow braided sheath.
- Open the sheath and insert the monofilament leader deeply into the hollow braid.
- Milk the sheath over the mono so it contracts uniformly around the leader.
- Pull the connection lengthwise and inspect for sheath damage or leader movement.
- Add the finishing variation only if your leader material calls for one.
Work the lead out with your fingers, not a blade. The blade feels faster for about ten seconds. A cut sheath won’t hold, and the damage is easy to miss once the mono is inside it.
Failure clue
If the leader comes back out, the sheath probably got cut or nicked while the lead was coming out — that’s the first thing worth checking on anybody’s connection, yours or a buddy’s. Sometimes the insertion was just too shallow. Sometimes lead core got left sitting inside the grip section where it has no business being. And sometimes the leader material was wrong for a plain insertion, and the correct variation never got added.
Lead core, or find another connection
Use it: mono leader to compatible lead-core line, which mostly means lake trout and deep-trolling setups. Skip it: solid braid, normal mono or fluoro main line, or a sheath that’s already damaged — don’t try to save a nicked one. Compare: loop-to-loop systems for lead-core products supplied with loops, or the manufacturer’s splice system when one’s specified. If the sheath is nicked anywhere near the grip, cut back and start the connection again. It’s not worth arguing with.
Pull it before the downrigger does
Before this one goes on a downrigger or a planer board, I pull it hard enough to feel uncomfortable doing it, because a lake trout troll is a bad place to find out the sheath was compromised. NetKnots has a good walkthrough of the Willis Knot if you want to see the insertion step slowed down — worth watching once before your hands get anywhere near the sheath.
Open the deeper knot workflowJob, material, route, dressing, seating, pull-test checks and the standardized comparison record.
THE SIX-MOVE CHECK
Job → Material → Route → Dress → Seat → Test
- Job. Name what the connection has to do before choosing the knot.
- Material. Confirm the line, leader, rope, wire, and hardware actually suit this structure.
- Route. Trace every pass before tightening anything.
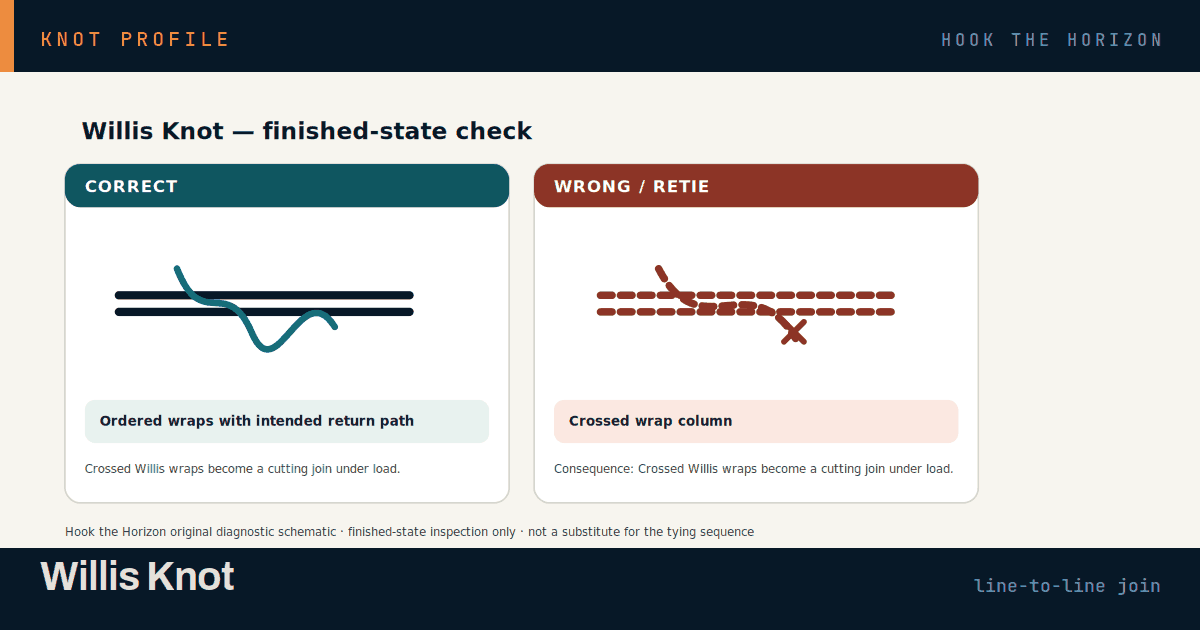
- Dress. Put strands, wraps, and loops in their intended order with no accidental crossings.
- Seat. Tighten in the order this knot needs. More force does not repair bad geometry.
- Test. Inspect the finished shape, load it by hand when appropriate, and retie if anything moves or fails the article-specific checks.
Practice / pass test. Tie this knot three clean times without rushing. A tie passes only when it matches this article’s What to check before you trust it geometry, shows none of the listed failure clues, and survives the stated load/inspection test. If you cannot tell why one attempt is better than another, keep practicing—the lesson is recognition, not memorization.
KNOT SPEC
Willis Knot — the short answers
- ALSO CALLED
- The Willis Knot. No widely used alternative name. Known mainly among freshwater trollers running lead-core line — lake trout, salmon and walleye crews working deep behind boards and downriggers.
- KNOT TYPE
- Splice-style connection rather than a knot — mono leader inserted into an emptied lead-core sheath
- WHAT IT CONNECTS
- Joins a monofilament leader to lead-core trolling line by removing the lead and using the hollow braided sheath that remains. Not a general-purpose line-to-line knot, and no use on solid braid, plain mono or fluorocarbon.
- LINE TYPES
- Lead-core line with a hollow braided sheath, joined to monofilament leader. A braided leader needs added overhand knots rather than a plain insertion. Nothing else — a solid or coated sheath will not grip at all.
- STRENGTH BAND
- Solid when the sheath is intact and the insertion is deep. The grip comes from the braid narrowing under load, not from anything you tie. A nicked sheath drops it to nothing, with no middle ground in between.
- DIFFICULTY
- Beginner to Intermediate on the moves — there is almost nothing to tie. The skill is patience: breaking the lead and easing it out with your fingers without damaging the sheath. Children manage it. Blades ruin it.
- STEPS AND WRAPS
- Six steps and no wrap count at all. The only number that matters is insertion depth — several inches of mono inside the sheath, more rather than less. A braided leader adds overhand knots as the finish.
- TIE TIME
- A home knot by nature, though not a hard one. Two or three minutes, most of it spent easing the lead out cleanly. Rig your lead-core leaders at the bench, not on the water.
- POOR CONDITIONS
- Poor. Cold hands make careful lead removal and even milking of the sheath difficult, and the fine damage that kills this connection is exactly what you cannot see in low light or spray. Build them ashore.
- THROUGH THE GUIDES
- Slim — slimmer than most joints, because it is an insertion rather than a knot — so it runs through rod guides and levelwinds cleanly. That smooth passage is much of why trollers use it.
- LUBRICATION
- No lubrication is needed and none helps. What matters instead is a dry, clean sheath you can actually inspect. Water hides a nick; a dry sheath in good light shows a thin or fluffed spot straight away.
- TAG END
- There is no wrapped tag. Trim the sheath end square, and check that no lead core has been left sitting inside the gripping section. Insert the mono deeper than feels necessary; short insertion is the usual failure.
- TOOLS
- None — and specifically not a blade, which is the mistake this connection punishes hardest. Fingers to work the lead out, nippers for a square trim, and good light to inspect the sheath.
- BEST SUITED TO
- Deep-trolling freshwater work — lake trout, salmon, walleye — on lead-core setups run behind boards or off downriggers. It has no application anywhere lead-core line is not in use.
The strength bands are rough on purpose. Published knot tests don’t agree with each other — the same braid-to-leader knot has tested near ninety percent of line strength on one machine and under half on another, because the line brand, its diameter, how fast it got cinched, whether it was wet and whose hands tied it all move the number more than the knot does. Use the band to compare this knot with the others, not as a number to quote.
ONE NICK ENDS IT
There is almost nothing to tie and nothing to miscount, and it slides through a levelwind without a sound. All of that sits on a sheath that a fingernail can ruin.
Advantages
- Almost nothing to tie, so there is no wrap count to miscount and no dressing to get wrong.
- Slim and smooth, so the joint runs through guides and levelwinds without the click and hesitation of a bulky knot.
- The grip tightens as load comes on, rather than depending on friction you set by hand.
- Adds no hardware and no weight at the transition, which matters on a line that is already heavy.
Disadvantages
- Entirely dependent on an undamaged sheath. One nick from a blade or a fingernail and the connection is finished.
- It does not feel like a knot while you build it, which makes it easy to under-insert and call it done.
- Only works on lead-core line with a hollow sheath. Outside that narrow case it has no use whatsoever.
- The damage that causes failure is hidden once the mono is inside, so inspection before insertion is the only real check.
- A braided leader needs the added overhand finish; a plain insertion alone is not enough there.
Use a different knot when
- Loop-to-loop — when the lead-core product came supplied with factory loops at the ends
- The manufacturer’s own splice system — when the line maker specifies one for that particular lead core
- Double Uni — when the sheath is damaged or not hollow and you need a conventional line-to-line joint instead
WHAT TO CHECK BEFORE YOU TRUST IT
The Willis shines on lead-core trolling gear, where the joint has to run through guides and levelwinds all day without announcing itself, and where the load is steady rather than sudden. Watch the sheath, not just the finish: run the whole grip section through your fingers feeling for a thin or soft spot, and check that no lead was left sitting inside it. The tradeoff is a specific kind of fragility. Nothing about it is hard to do, but one careless moment with a blade while the lead comes out ruins a connection that would otherwise hold all season.
What actually makes it fail
- The sheath nicked or cut while the lead was being worked out, most often by a blade.
- Insertion too shallow, leaving the braid too little length to narrow down around.
- Lead core left inside the gripping section, which stops the sheath closing on the mono.
- A braided leader inserted plain, without the overhand finish that material needs.
- A sheath fluffed, flattened or abraded in use, which no longer grips even where it still looks whole.
How to test it, and how it ages
Inspect the sheath before the mono ever goes in, in good light, running its whole length through your fingers for a thin, soft or fluffed spot. Then insert deep, milk the braid down uniformly over the leader, and pull the connection lengthwise hard — harder than the troll ever will — watching for the leader to creep at all. A good one shows no movement, a smooth taper with no bulge, and no lead felt inside the grip section. If the leader shifts even slightly, cut back past the damage and build it again. There is no partial credit with this connection.
Over a session: It holds well across a season provided the sheath stays intact, since steady trolling load is exactly what tightens it. Inspect the sheath at the start of each trip and after any snag — abrasion in the grip section is the failure that creeps up on you.
Troubleshooting
Why did the leader pull straight back out?
Either the sheath was nicked while the lead came out, or the insertion was too shallow. Neither is fixable in place. Cut back past the damage and rebuild with a deeper insertion.
Can I use a knife to help get the lead out?
No. That is the single most common way to ruin one. Break the lead by bending the line sharply, then work the pieces out with your fingers.
How far should the mono go in?
Further than feels necessary — several inches. The braid grips along the whole insertion, so length is exactly what you are buying, and going short is the cheapest way to fail.
Does this work with a braided leader?
Only with the added overhand knots. A plain insertion that holds mono will not reliably hold braid.
Can I use it on ordinary braid or mono main line?
No. It depends on a hollow lead-core sheath with the lead removed. On anything else, use a conventional line-to-line knot.
FIELD OBJECT
This one should leave the page.
The article is the long version. These are the pieces worth carrying into the next trip.
The 30-second version
Mono slides into an emptied lead-core sheath and the load does the gripping, so a Willis mostly fails where the sheath got nicked on the way. Keep the knife in your pocket and check that sheath by feel.
What to watch
- Break the core, then watch the sheath close
- Load tightens this one, not your hands
- Doing it without nicking the sheath
- Seat check
Field card
- Bend the lead-core line sharply at the intended transition point so the internal lead breaks.
- Slide the broken lead core out, leaving an intact length of hollow braided sheath.
- Open the sheath and insert the monofilament leader deeply into the hollow braid.
- Milk the sheath over the mono so it contracts uniformly around the leader.
- Pull the connection lengthwise and inspect for sheath damage or leader movement.
RIGHT TOOL, NEXT
Knot Analyst
Carry the connection problem into a knot choice built around line, hardware, conditions, and failure mode.