MONO · FLUORO · BRAID
I switch lures more than I switch knots, which means whatever terminal connection I’m tying has to work whether I’ve got mono, fluoro, or braid on the reel that day. The San Diego Jam is the one I default to for that reason. Both ends of the wrap package get locked here, not just the one sitting at the eye. That’s why it scales up where a lot of light-line terminal knots quit, and why it earns a real place with braid as well as nylon and fluorocarbon.
Six stages, and two of them are locks
Monofilament, fluorocarbon, and braid.
Adjust to diameter and slickness. Thinner braid generally wants more turns than heavy mono.
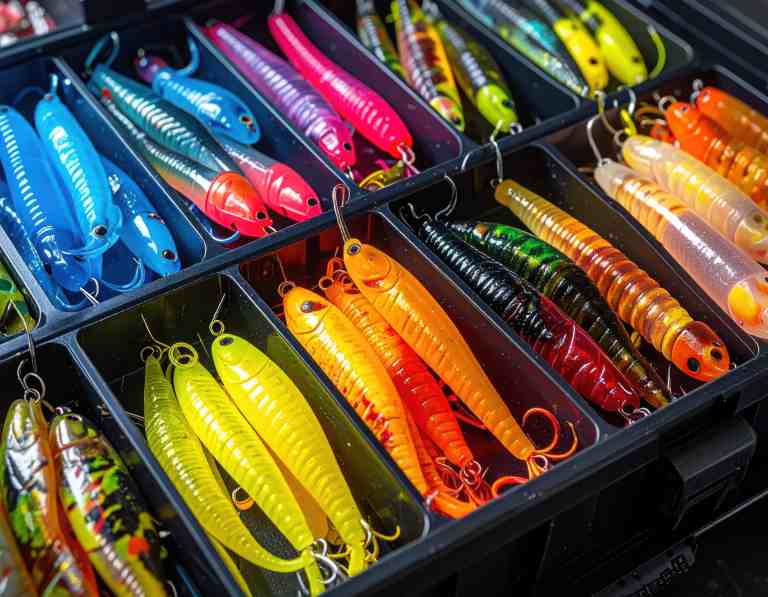
The rig where you’re changing lures more than you’re changing line — one knot you don’t have to rethink every time.
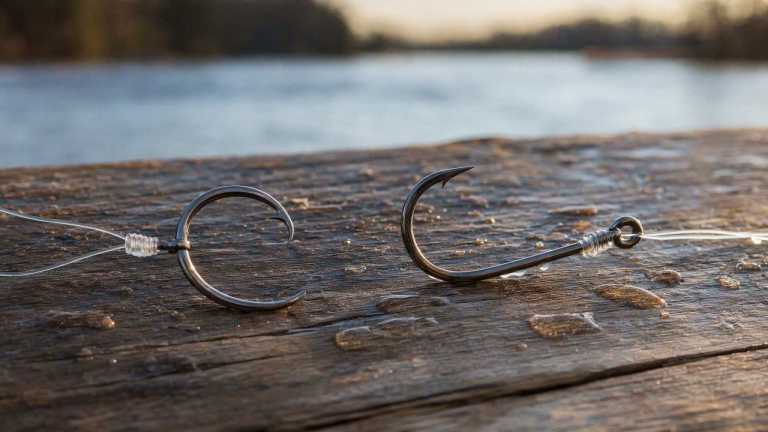
An even barrel with the tag locked through the lower opening at the eye.
A barrel that’s locked at the bottom as well
The tag circles the standing line, then returns through an opening near the eye before it enters the upper loop. That closes both ends of the wrap package. With braid the grip comes from enough wraps and a hard, controlled set. There’s no single turn count that covers every diameter, whatever number you’ve seen quoted somewhere. I add turns until the braid stops feeling like it wants to slip, then I add one more.
The wraps travel toward the eye
- Pass the line through the eye and form a generous loop alongside the standing line.
- Wrap the tag around the doubled section several times, working toward the eye.
- Pass the tag through the small opening right behind the eye.
- Bring it back through the large upper loop.
- Moisten nylon or fluoro where it applies, and draw the wrap package down evenly.
- For braid, set it firmly and run the pull test again before you trim.
What a bad one looks like at the eye
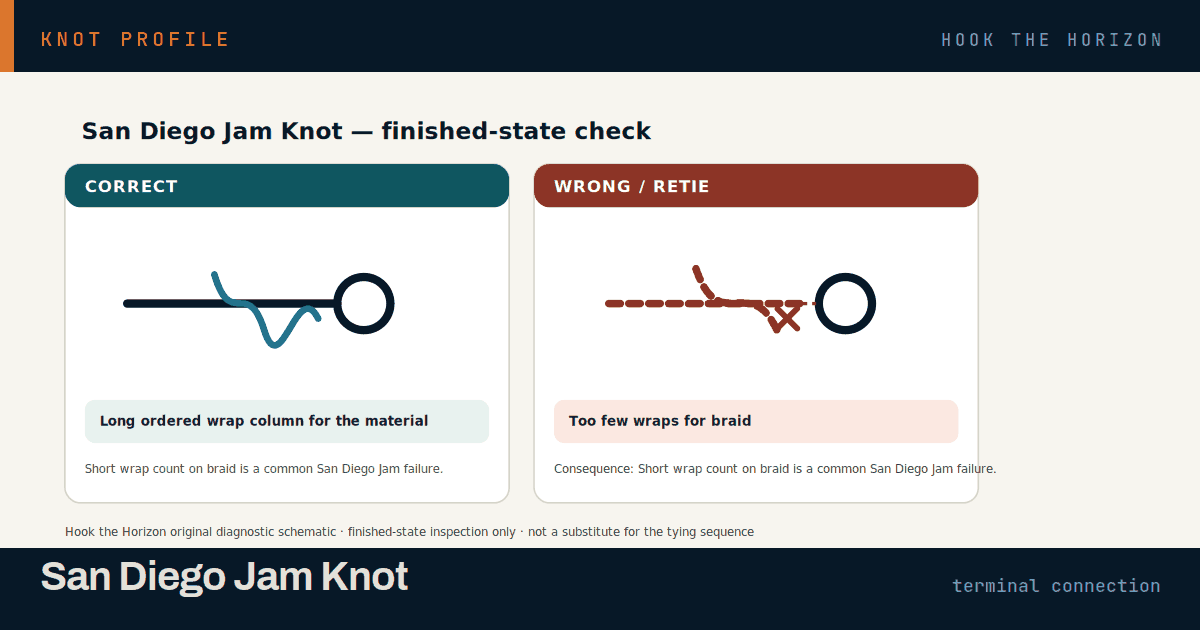
Too few wraps on braid. A tag that missed the lower opening on the way through. A crossed barrel instead of parallel turns. Heavy line forced into more turns than it will take. And the dry, high-friction cinch, which damages line quietly and leaves a knot that still looks fine. Wet it, seat it slow, then pull-test it before you fish it.
One knot that covers mono, fluoro and braid
Use: broad terminal work across all three mainstream line materials. Skip: tiny fly eyes, or when a Palomar is just simpler. Compare: Pitzen for lighter line; Uni for adjustable wrap count; Berkley Braid for a dedicated doubled-braid structure.
HOW I CHECK IT
Count the wraps in the clip, then count them again on your own line.
NetKnots’ animation, Wired2Fish’s walkthrough, and Tackle Warehouse’s how-to are all decent for watching the tag’s path through both openings before you try it on your own line. Tied in a hurry between lure changes, the lower lock is the step that goes missing, so check it closed before anything else, then pull-test hard enough that I’d trust it on the fish I actually want to catch, not just the next cast.
Open the deeper knot workflowJob, material, route, dressing, seating, pull-test checks and the standardized comparison record.
THE SIX-MOVE CHECK
Job → Material → Route → Dress → Seat → Test
- Job. Name what the connection has to do before choosing the knot.
- Material. Confirm the line, leader, rope, wire, and hardware actually suit this structure.
- Route. Trace every pass before tightening anything.
- Dress. Put strands, wraps, and loops in their intended order with no accidental crossings.
- Seat. Tighten in the order this knot needs. More force does not repair bad geometry.
- Test. Inspect the finished shape, load it by hand when appropriate, and retie if anything moves or fails the article-specific checks.
Practice / pass test. Tie this knot three clean times without rushing. A tie passes only when it matches this article’s What to check before you trust it geometry, shows none of the listed failure clues, and survives the stated load/inspection test. If you cannot tell why one attempt is better than another, keep practicing—the lesson is recognition, not memorization.
KNOT SPEC
San Diego Jam Knot — the short answers
- ALSO CALLED
- San Diego Jam, often shortened to the Jam Knot or the Reverse Clinch. It came out of the southern California tuna fleet and is standard there; attribution beyond that region is loose, and it is now widely used by bass and inshore anglers.
- KNOT TYPE
- Terminal knot, wrapped barrel locked at both ends
- WHAT IT CONNECTS
- Line to hook, lure, jig, swivel or snap. It is not a line-to-line knot, not a spool knot and not a loop knot.
- LINE TYPES
- Monofilament, fluorocarbon and braid, which is unusual for a wrapped knot. Heavy stiff leader is where it stops working; forced into more turns than it will take, the barrel will not close.
- STRENGTH BAND
- High across all three mainstream line materials when the lower lock closes and the wrap count suits the line. It scales up into heavier line better than most light-line terminal knots.
- DIFFICULTY
- Intermediate. The path is longer than a clinch and the tag has to find two openings in the right order. Once the sequence is learned it is straightforward, and children can manage it on larger hardware.
- STEPS AND WRAPS
- Six moves. Wrap count varies by line: fewer turns on heavy mono, more on thin slick braid. Add turns until the braid stops feeling like it wants to slip, then add one more.
- TIE TIME
- Moderate — a boat knot once learned. Thirty to forty-five seconds. It is the knot the tuna fleet ties between lure changes, so it is built for repetition rather than for showing off.
- POOR CONDITIONS
- Decent in poor conditions. The barrel is large enough to handle with cold hands and there is no fixed count to lose. Low light makes the lower opening hard to find, and that is the step people skip when rushing.
- THROUGH THE GUIDES
- An even barrel, moderately compact, and it clears rod guides without catching. It lives at the hardware, so guide passage is rarely the question.
- LUBRICATION
- Yes on nylon and fluorocarbon, before the draw. A long barrel traveling down a doubled section generates real friction, and a dry cinch damages line quietly, leaving a knot that looks perfect. Braid does not scorch, but a wet set still seats the wraps more evenly.
- TAG END
- An eighth of an inch on mono and fluoro, a quarter inch on braid, which creeps. Trim only after the pull test, never before.
- TOOLS
- None. Braid scissors if you are on braid, because ordinary clippers crush it. Nothing else earns a spot in the pocket.
- BEST SUITED TO
- Tuna and offshore work, where it originated, plus bass, inshore saltwater and general lure fishing. Chosen by the angler who changes lures more often than line and wants one knot that does not need rethinking.
The strength bands are rough on purpose. Published knot tests don’t agree with each other — the same braid-to-leader knot has tested near ninety percent of line strength on one machine and under half on another, because the line brand, its diameter, how fast it got cinched, whether it was wet and whose hands tied it all move the number more than the knot does. Use the band to compare this knot with the others, not as a number to quote.
TWO OPENINGS, IN ORDER
One knot for mono, fluorocarbon and braid, with no loop for a big lure to squeeze through and a wrap count you set to suit the spool. All of it rests on the tag finding two openings in the right order, and missing the second one leaves something that looks done.
Advantages
- It works across mono, fluorocarbon and braid, so it is one knot to learn rather than three.
- Both ends of the wrap package are locked, not just the end at the eye, which is what lets it scale into heavier line.
- Nothing has to pass through a loop, so lure size and hardware shape do not limit it.
- Wrap count is adjustable to diameter and slickness rather than fixed, so it can be tuned to the spool in your hand.
- It ties fast enough to keep up with a lure box that won’t sit still.
Disadvantages
- The tag has to find two openings in the right order, and missing the lower one gives a knot that looks finished and is not.
- There is no single wrap count to memorize, which means judgment when you are tired.
- It is bulkier and slower than a plain clinch on very light tippet, and too big for tiny fly eyes.
- Heavy stiff leader forced into too many turns will not seat into a barrel.
- On braid it needs a hard, controlled set, and a soft set gives it room to slip.
Use a different knot when
- Palomar — when you are on braid, the lure passes easily through a loop, and simpler is better
- Pitzen or Improved Clinch — when the line is light tippet and this knot is more structure than the job needs
- Uni / Grinner — when you also want the same structure to cover line-to-line joins and snells
- Berkley Braid Knot — when you want a braid-dedicated doubled-line structure and the eye will take it
WHAT TO CHECK BEFORE YOU TRUST IT
The San Diego Jam earns its place on the rig where the line stays and the lures change. It handles mono, fluoro and braid without a rethink, and locking both ends of the barrel is what lets it hold in heavy line where light-line knots quit. The first useful check is the lower lock — closed and tight against the eye — because that is the step that gets skipped in a hurry. After that, look at the barrel: parallel turns, no crossings, no crushed fluorocarbon at the eye. The tradeoff is a longer tying path than a Palomar, for a knot that asks fewer questions afterward.
What actually makes it fail
- Too few wraps for the line, most often on thin slick braid, so the barrel creeps under load.
- The tag missing the small opening behind the eye, which leaves the lower end of the barrel unlocked.
- A crossed barrel instead of parallel turns, which loads unevenly and collapses to one side.
- Heavy line forced into more turns than it will take, so the wraps never draw into a barrel at all.
- A dry high-friction cinch, which damages nylon and fluorocarbon quietly and leaves the knot looking fine.
How to test it, and how it ages
Check the lower lock first — the tag should have gone through the small opening behind the eye and be fully closed there. Then look at the barrel: parallel turns, nothing crossed, no crushed or cloudy fluorocarbon where it meets the eye. Wet it, draw the package down evenly rather than in a snatch, and on braid set it firmly. Then pull-test hard against the reel, hard enough that you would trust it on the fish you actually want, not just the next cast. Trim after that.
Over a session: Holds up well over a session and resists the creep that catches simpler wrapped knots on braid. Retie after a hard fish or a snag, and check the line just above the knot for flattening — braid and fluorocarbon both polish where they turn through a hook eye.
Troubleshooting
How many wraps should I use?
There is no single number that covers every diameter, whatever you have seen quoted. Fewer on heavy mono, more on thin braid. Add turns until it stops feeling like it wants to slip, then add one more.
Why does it slip on braid?
Either too few wraps or too soft a set. Braid needs both the turns and a hard, controlled pull to compact them.
How do I know the lower lock closed?
Look at the eye before you tighten. The tag should be visibly through the small opening behind it. If you cannot see it, back the knot out rather than pulling.
Why does my fluorocarbon look crushed at the eye?
A dry, fast cinch. Wet it and draw it down slowly. Crushed fluoro is a retie, not a knot you fish.
Why will the barrel not form on heavy leader?
Too many turns for the diameter. Heavy stiff line takes fewer wraps; keep adding turns and it will never seat.
FIELD OBJECT
This one should leave the page.
The article is the long version. These are the pieces worth carrying into the next trip.
The 30-second version
When the line stays on the reel and the lures keep changing, the San Diego Jam handles mono, fluoro or braid, provided the tag makes it through the little opening behind the eye.
What to watch
- Six stages, and two of them are locks
- A barrel that's locked at the bottom as well
- The wraps travel toward the eye
- Seat check
Field card
- Pass the line through the eye and form a generous loop alongside the standing line.
- Wrap the tag around the doubled section several times, working toward the eye.
- Pass the tag through the small opening right behind the eye.
- Bring it back through the large upper loop.
- Moisten nylon or fluoro where it applies, and draw the wrap package down evenly.
RIGHT TOOL, NEXT
Knot Analyst
Carry the connection problem into a knot choice built around line, hardware, conditions, and failure mode.